
Highly Available and Scalable Wordpress Installation on AWS
Highly Available and Scalable Wordpress Installation on AWS
The initial version of Wordpress was released in May 2003 and it has been nearly 17 years. Wordpress is still going strong after all these years, according to report WordPress powers over 1/3rd of the top 10 million sites. We can safely assume that Wordpress is not going away anytime soon. Many cloud companies are now targeting Wordpress users directly with Wordpress specific hosting. Although that might sounds optimal for the average Wordpress user, these offerings have limitations and shortcomings. Most of them provide poor hardware support and scaling a Wordpress instance can become a really hard task.
We would like to treat Wordpress as a web application that is no different from other web applications that we deploy. That’s why it’s a good practice to focus on horizontally scalability aspect, as well as data integrity and security. We don’t want to lose our data because of a sudden instance failure.
In this tutorial, we are going to deploy a Wordpress installation using different AWS services. We are going to use ECS as a computing layer, Aurora MYSQL as a database layer and ALB(Application Load Balancer) for load balancing. We will use AWS CDK(Cloud Development Kit) to package everything together and deploy via CDK CLI.
All sounds good, let’s start with describing the main stack.
We are getting the necessary information via environment variables. We need to create a VPC first, then a database layer, ECS Cluster with Autoscaling capability and ECS Service at last. Our cluster will scale based on CPU metrics that we are setting here.
We also need to provide the necessary information in .env file.
# .env file
AWS_ACCOUNT_ID=""
AWS_REGION="us-east-1"
DB_USER="admin"
DB_PASSWORD=""
DB_PORT="3306"
DB_NAME="wordpress"
Now let’s deploy the Wordpress installation. For that we have to install dependencies first, then use CDK CLI command to initiate the deployment process.
# Install dependencies
npm install
# Deploy
cdk deploy
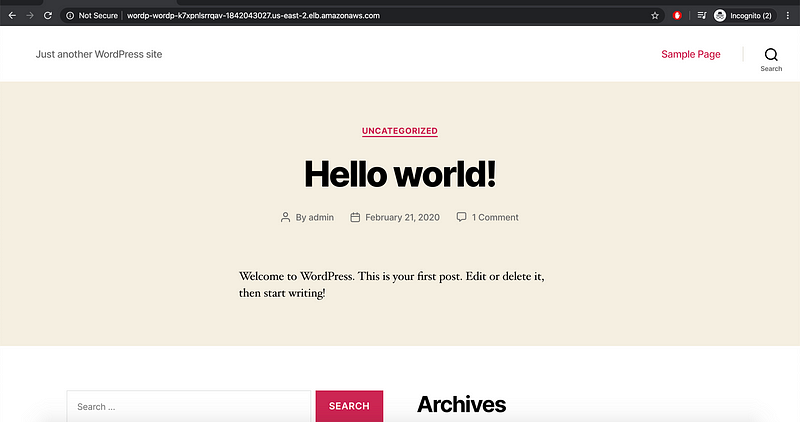
After a successful deployment, we should be seeing the Wordpress URL.

Cool, let’s try that URL.
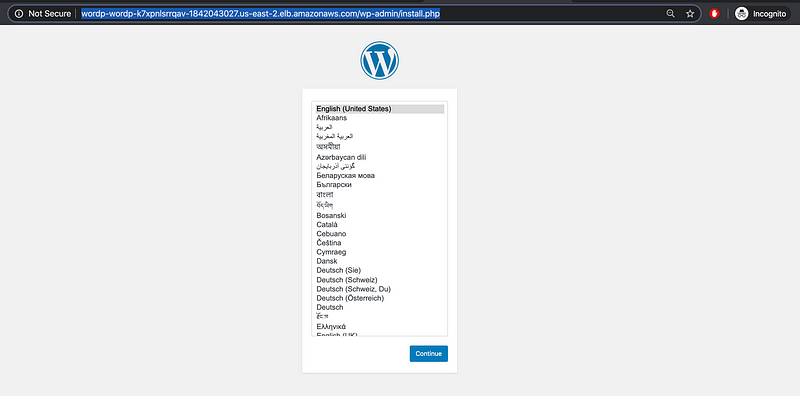
Continue with the setup.
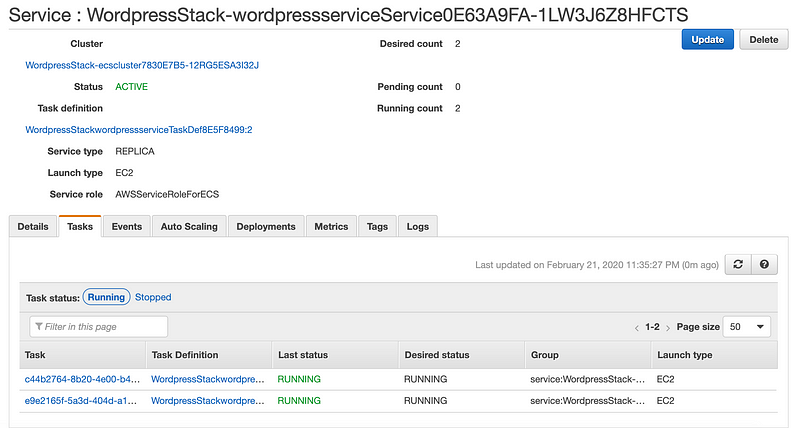
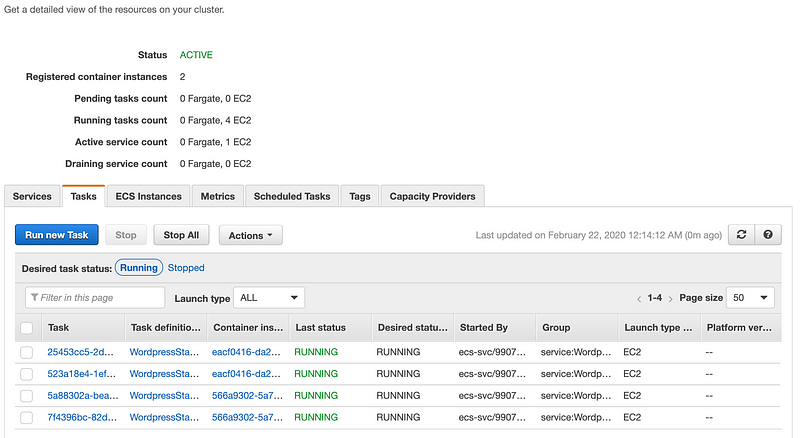
All looks good, you can head over to ECS console and see the running tasks(replicas).
You can use tools like siege to load test the new Wordpress installation. It should scale according to the CPU metric that we’ve set earlier.
EC2 instances in the Autoscaling group will also scale automatically with the increasing load.
After you’ve done with the stack, destroy via CLI.
cdk destroy
The final project can be found here